
 michiel | a year ago | 18 comments | 14 likes | 1.3K views
liuyongcai, EdwardL, Ulli and 11 others like this!
This is an answer to a question by Dairex Mx:
outerspace-software.com...
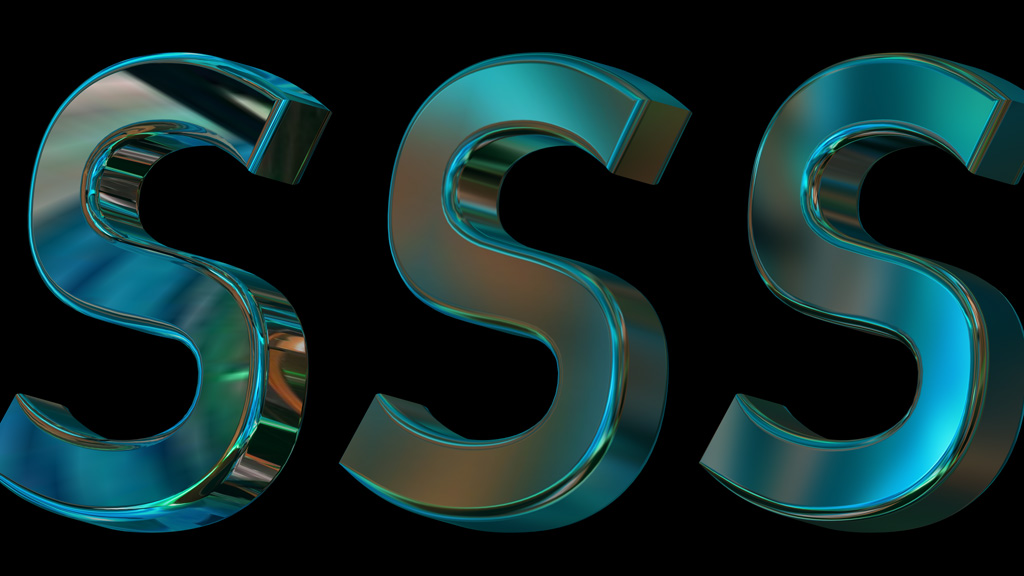
It demonstrates 2 ways to do soft, blurred reflections:
1) Normal picture
The left S uses the Reflectionmap effect. Select layer 3 and choose MEDIA > CHANGE TEXTURE... to see how it's done.
Using an normal photo is technically wrong because the Reflectionmap effect expects a sphere map, but it turns out that ordinary photos work equally well. In this case I used a photo I took at a robot exhibition.
When you experiment with your own photos, make sure to unmark the TRY TO KEEP TEXTURES AND EFFECT MATCHED checkbox in the MEDIA > CHANGE TEXTURE... dialog:
outerspace-software.com...
More info about reflection maps here:
outerspace-software.com...
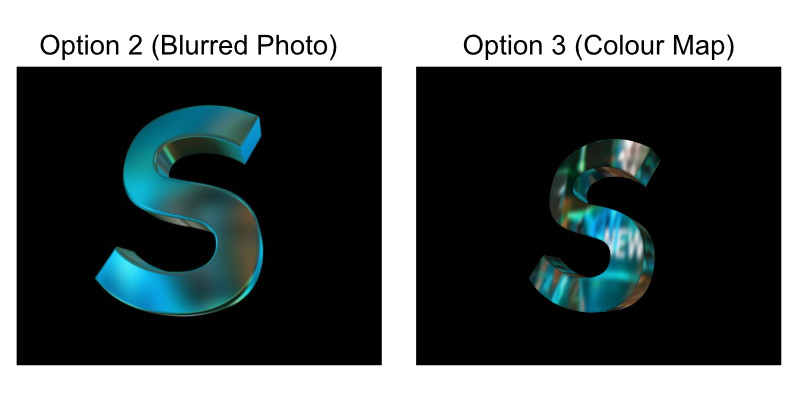
2) Blurred picture
The middle S used the same technique, only with a blurred version of the photo. Blurring photos can be done in any paint app. In this example I used Photoshop.
3) Colour map layer
The right S blurs the photo in a colour map layer:
-render the photo with a picture layer using the FULLSCREEN IN BACKGROUND style and the NotLightened effect
-match the RESOLUTION prop of the colour map layer to the resolution of the photo
-apply the Camera\CameraBlur effect to the camera layer attached to the colour map layer (layer 7)
-make the S use the colourmap layer as the reflection map (click on the SELECT COLOUR MAP layer button in the MEDIA > CHANGE TEXTURE... dialog)
-check the colour map layer by pressing <F2>
Yes this is a difficult solution, but it allows you to animate the blur by keyframing the FX BLUR FACTOR of the camera layer (layer 7).
More about the colour map layer here:
outerspace-software.com...
Download media files (184 KB)


Using the colourmap layer as the fuzzy reflection map is the most convenient method. Thank you, Michiel.
shoji M, a year ago
Thnx Michiel great instructions
Filip, a year ago
Se ve genial!
Hermosos contrastes...brillante!!
EDWIN, a year ago
Thank you Michiel for the tips
Dairex Mx, a year ago
Since I am in learning mode, I took this one as an opportunity to advance. Ran the steps, and checked all my settings, but not getting quite the same result. My final product looks way off. Checked and checked, and ran the process on different computers.
EdwardL, a year ago
very nice
Rorysee, a year ago
Thank you all!
EdwardL, when you post your final product in this community we can see what's happening.

michiel, a year ago
EdwardL, it looks like your text layer does not use the Reflectionmap effect. This effect can be applied in the MEDIA > CHANGE EFFECT... dialog. Make sure to unmark the TRY TO KEEP TEXTURES AND EFFECT MATCHED checkbox before selecting this effect.
2 other remarks:
-It looks like your colour map layer has a text layer saying "NEW". You might want to delete that text layer.
-The text layers in my screenshot use the ROUND BEVEL style. This can be selected with the 3rd dropdown below the textbox. Play around with the BEVEL property to increased the bevel size.

michiel, a year ago
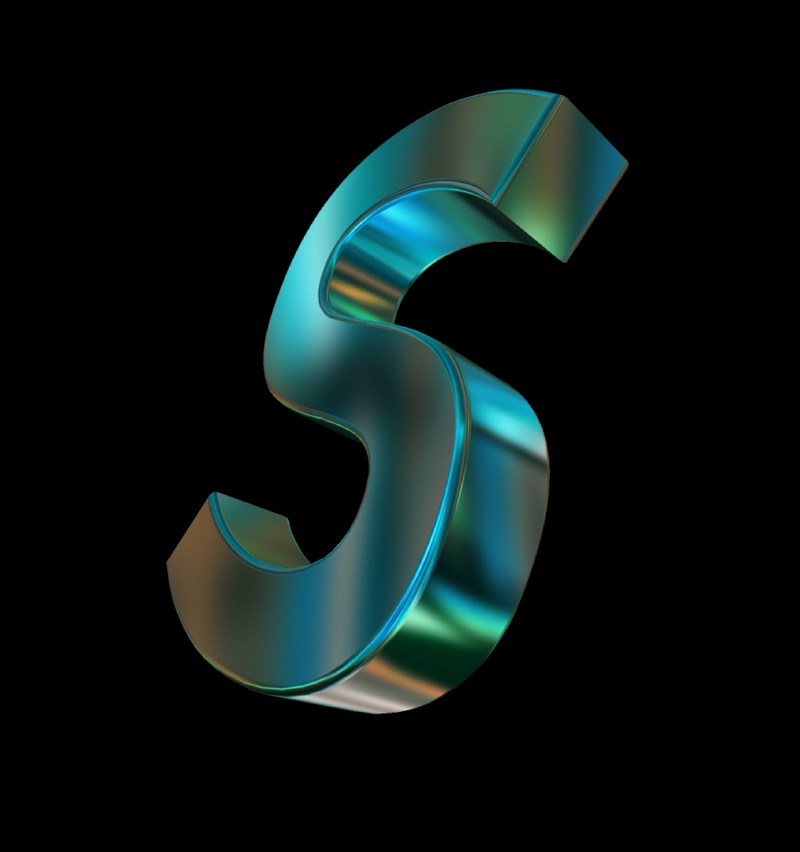
Michiel, I had all the other settings in, but I was missing Reflectionmap. If you look at the instructions above, it does not mention Reflectionmap for step 3. It does for step 1.
Reading into it a bit, I might get it, but going literally (like I do a lot) might not.
Thanks for helping me figure this one out. I have done so much testing with colourmap, that it should be second nature now. Thanks!
After your help figuring out what I was missing, I find this method actually easier, faster, and more convenient. No need to blur a photo, which saves a step. Once the show is set up, changing the photo is a breeze.
from above:
-make the S use the colourmap layer as the reflection map (click on the SELECT COLOUR MAP layer button in the MEDIA > CHANGE TEXTURE... dialog)
EdwardL, a year ago
Happy to see it works now!
Realize that with the same trick you can use the colour map layer to dynamically create and animate normal maps, displacement maps, glow maps and all kinds of other maps.

michiel, a year ago
Superb! Many other things for me to practice and learn.
EdwardL, a year ago
very god model
thanks
Aerofilms30s, a year ago
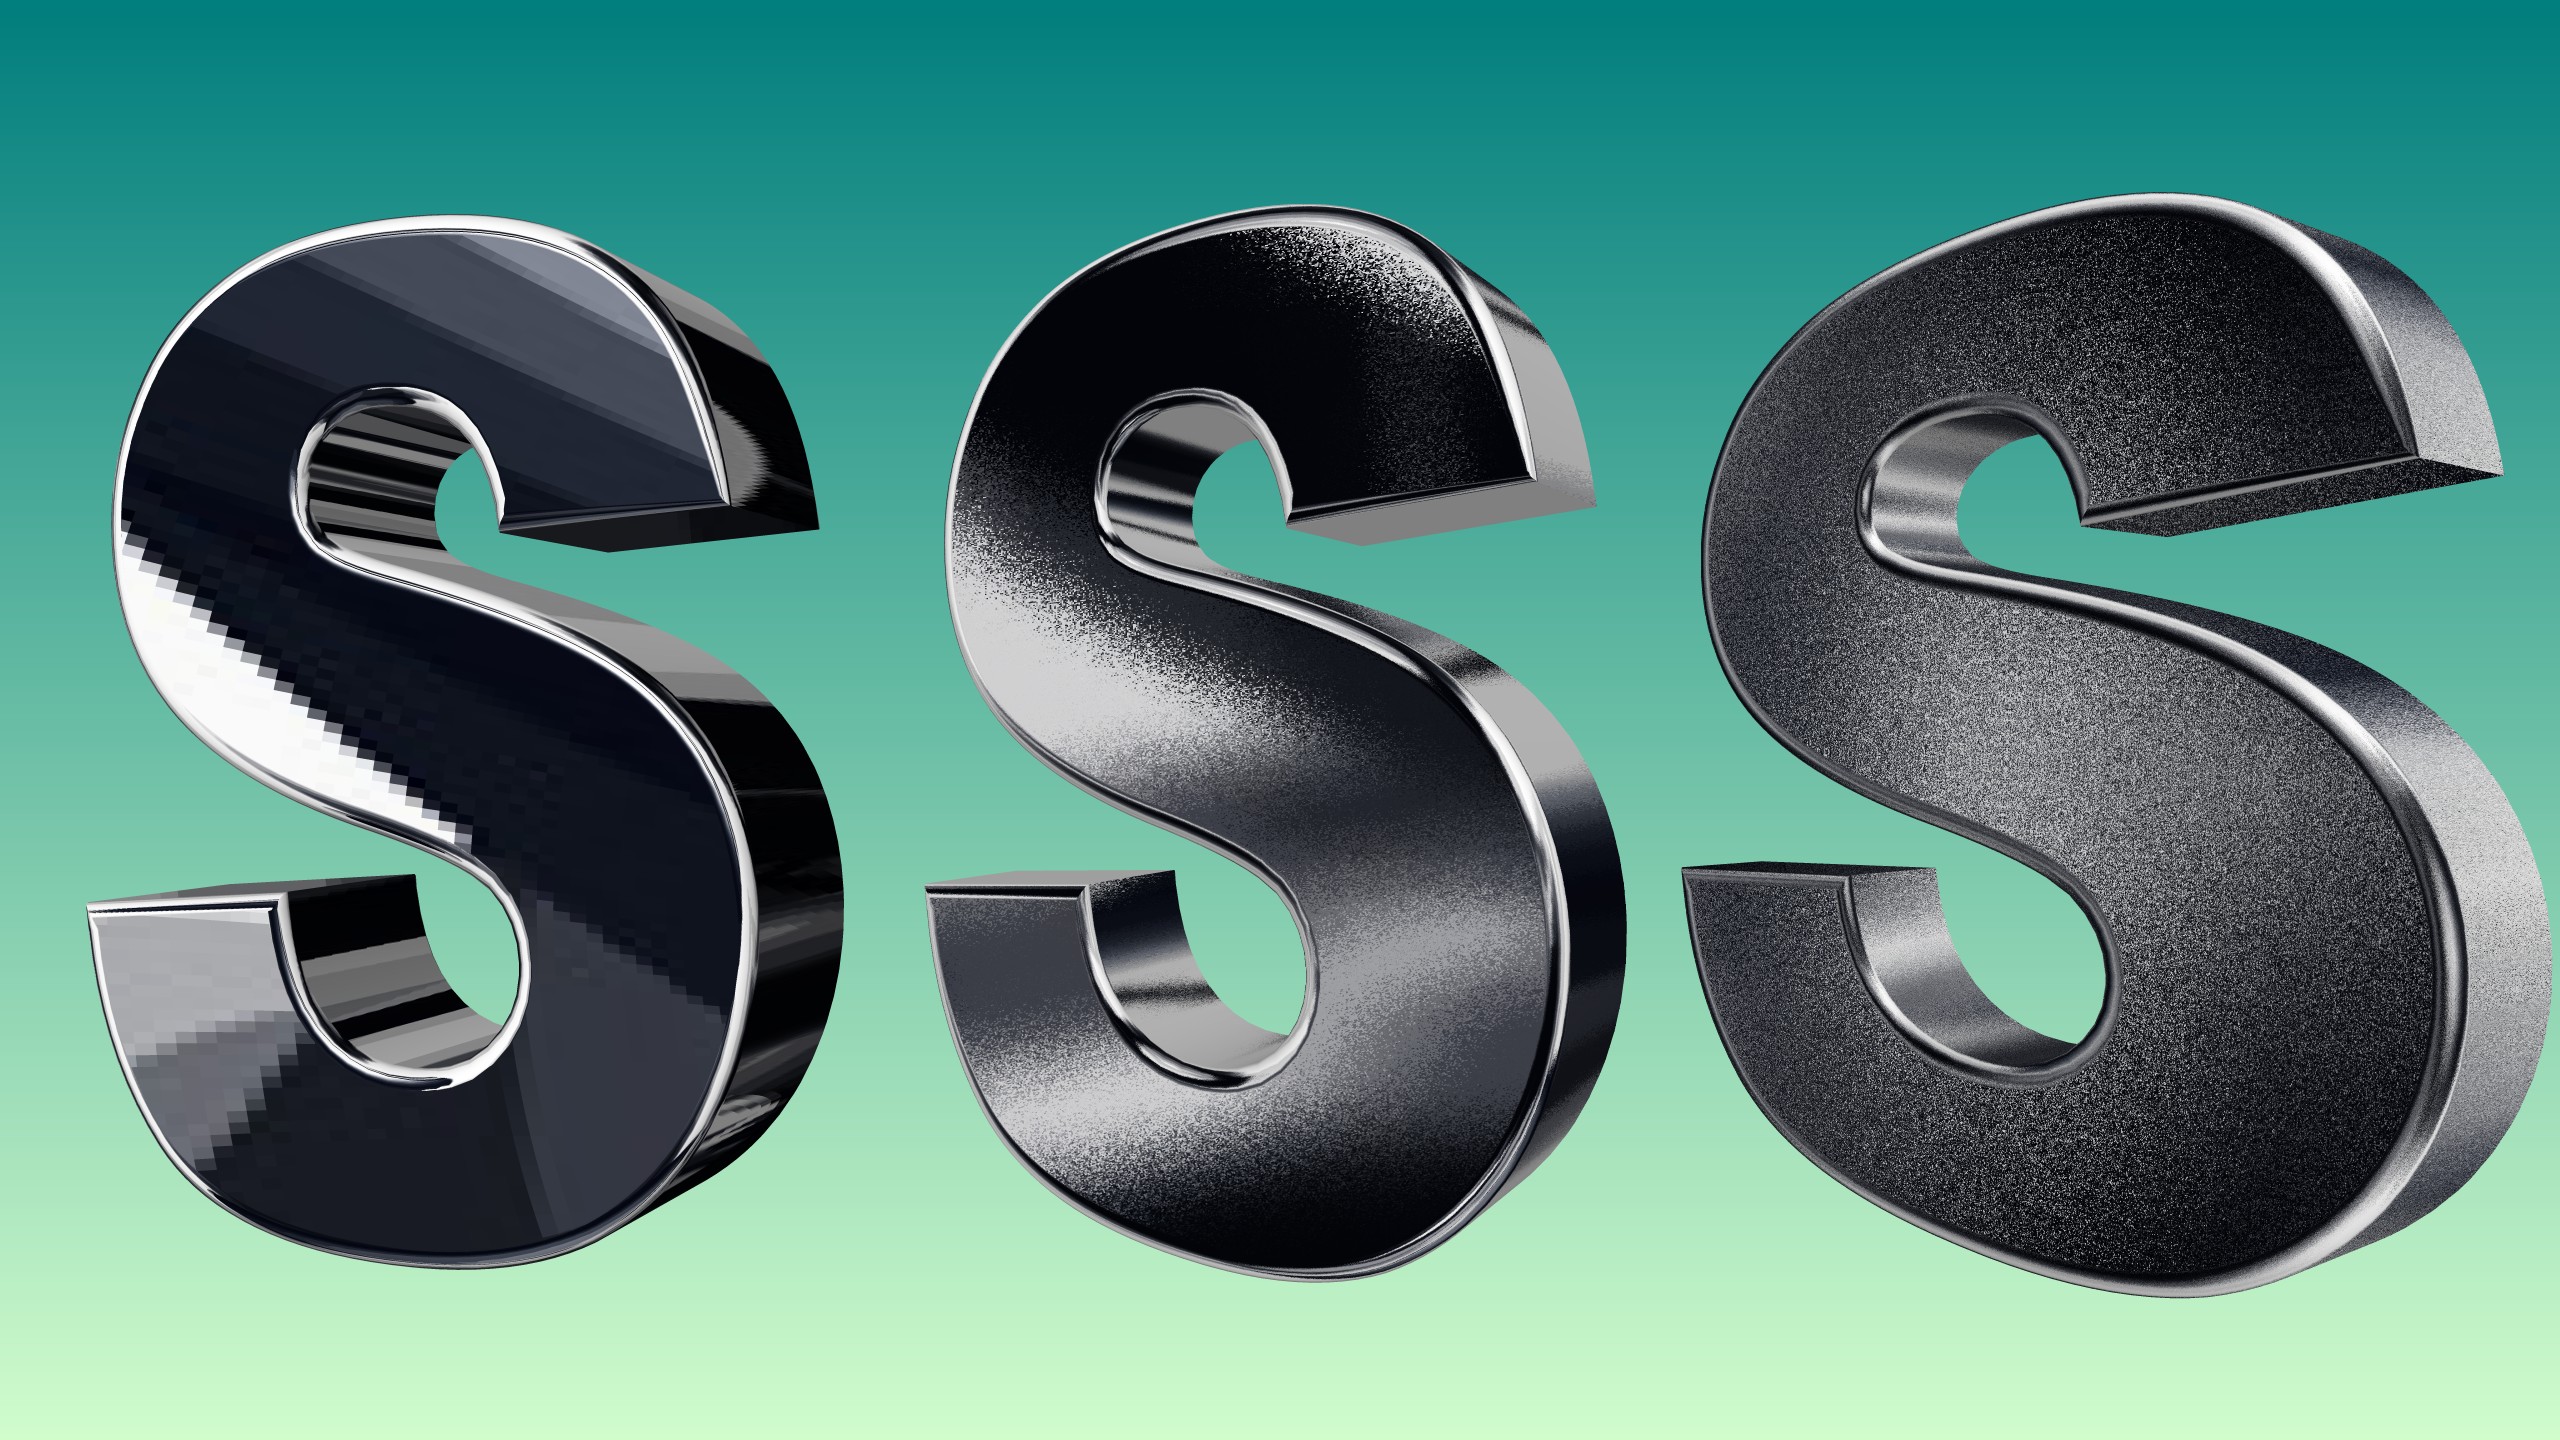
Hello everyone, this is my first comment, on the topic of soft or blurry reflections, I have always considered that you can create soft and blurry reflections with the effect of (GlitterDress.cfx) by adapting it for the soft or blurry reflection effect function, michiel, great greetings, it will be possible to adapt the effect (GlitterDress.cfx) to create our own soft or blurred reflections in the blufftitler program, I leave an image showing my idea I hope you take it into account and it will be a help to everyone for their projects, greetings to all
ALFA MEGA, a year ago
Comment to this article
More by michiel

About michiel
Michiel den Outer is the founder and lead coder of Outerspace Software. He lives in Rotterdam, the Netherlands.
If he isn't busy improving BluffTitler, he is playing the piano or rides the Dutch dikes on his bikes.
819 articles 4.1M views
Contact michiel by using the comment form on this page or at info@outerspace-software.com

