
 lightads | a year ago | 13 comments | 2 likes | 940 views
shoji M and songbaojin like this!
For anyone interested, you can get over 500 FREE PBR textures at freepbr.com , I must warn you that it's over 10 gig ZIP file. The PBR textures are high quality and well categorized into folders like Floor, Wood, Metal etc. Each folder has the 5 optional files you need.
Select the option Download for Blender as they are recognized by Bluff's PBR.CFX effect.
Although they are free you can download the whole batch at once for $16.
freepbr.com


Are there any resources/videos available showing how to work with PBR textures in BT? My 3d experience is very limited. Barely learning to work with regular textures. When downloading a PBR, I can see there are a few files representing different things. I can see that I can have up to 5 textures with BT.
I was testing, but certainly not placing the textures in the right order. Maybe.
Also, I am using the AdvanceMaterials/PBR.cfx
Many thanks for your response.
EdwardL, a year ago
After you've added PBR.cfx go into textures. You'll see
Texture 1 on the right you'll see COULOR MAP
Texture 2 on the right you'll see NORMAL MAP
Texture 3 on the right you'll see CUBE MAP
Texture 4 on the right you'll see OCCLUSION TOUGHNESS METALNESS
Texture 5 on the right you'll see GLOW MAP
Add the textures from your folder you downloaded. There's isnt any DDS files there but Bluff does have some. Leave the GLOW MAP empty for now.

lightads, a year ago
Lightads,
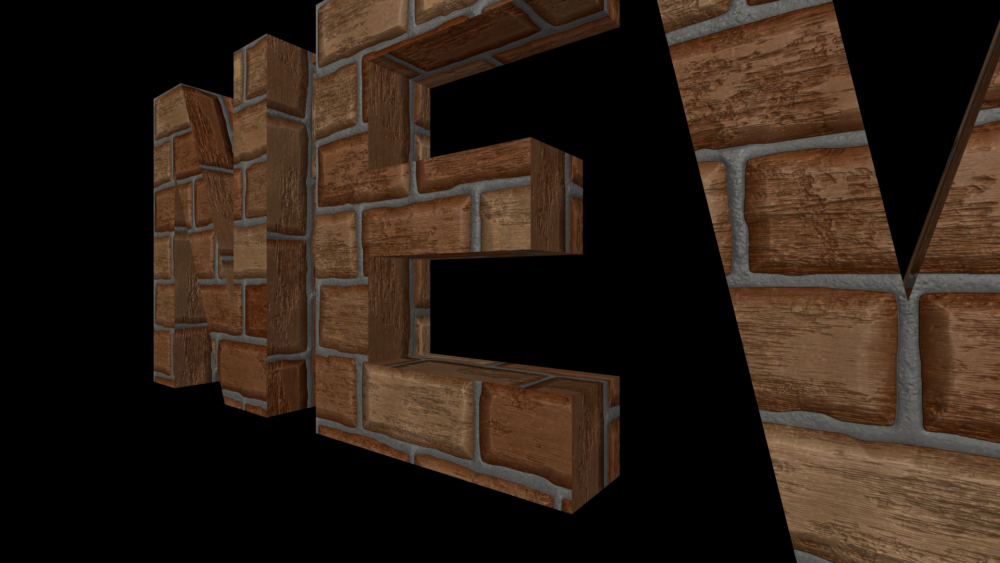
I found a PBR explanation video, and experimented with the 5 textures. I was able to get some sort of result, but still missing something.
For example, I downloaded brick-wall-bl, which has these files:
brick-wall_roughness.png
brick-wall_albedo.png
brick-wall_ao.png
brick-wall_height.png
brick-wall_metallic.png
brick-wall_normal-ogl.png
brick-wall_preview.jpg
Still trying to figure out what goes where, especially to get the effect shown in the preview.
Thanks.
EdwardL, a year ago

I tested it a bit after the last message. I don't recall if I used CubeMap before, but with this one I did.
Getting better results.
Thanks for your help! Greatly appreciated.
EdwardL, a year ago
_albedo is the colour map, place it in the 1st texture slot when using the AdvancedMaterials\PBR effect
_normal is the normal map, place it in the 2nd texture slot when using the AdvancedMaterials\PBR effect
_ao stands for ambient occlusion and is the occlusion map.
_roughness is the roughness map.
_metallic is the metalness map.
To save precious video memory, those last 3 maps are combined into a single ORM map:
Occlusion is the red channel.
Roughness is the green channel.
Metalness is the blue channel.
When you load a GLB model, this is all performed automatically and the ORM map is placed in the 4th texture slot of the PBR effect:
outerspace-software.com...
When a stock site offers them as single files you could use a paint app to combine the 3 maps into a single ORM map: support.spiffcommerce.com...
More info in the user guide:
outerspace-software.com...
_height is the displacement map. This map is not supported by the PBR effect. Effects that support this map include: Displacementmap and AdvancedMaterials\ColourmapDisplacementmapCubemap

michiel, a year ago
In this case is there a particular reason to not have the Occlusion factor with FX roughness and metalness (3rd cursor is available) ?

vincent, a year ago
Vincent, ambient occlusion is about lighting. Roughness and metalness is about material. For this reason it's not logical to control all 3 in the same property.

michiel, a year ago
Michiel,
I've been tinkering with this and revisited BT's guide. So, I mainly worked with textures 1 and 2, and also adding a cubemap (texture 3). Additionally, I included the roughness texture on texture 4, but now I realize there's something else I need to do.
I plan to experiment with combining Occlusion, Roughness, and Metalness into a single texture.
At this point, I'm not even sure if this is necessary for the tasks I need to accomplish with BT, but I feel compelled to understand it.
Thank you for taking the time to explain this in detail.
Kind regards
EdwardL, a year ago

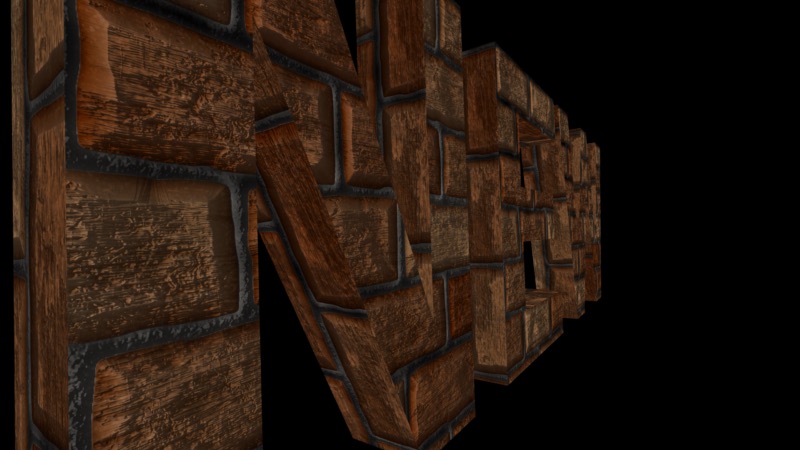
Update: I combined Occlusion, Roughness, and Metalness and uploaded into texture 4. I am not even sure my combination was done the right way (RGB channels), but I can see a huge difference.
FX props that were not responsive, are now working. Interesting stuff.
Thanks! 🙏
EdwardL, a year ago
One more thing on combining Occlusion, Roughness, and Metalness into a single texture. I did it 2 different ways in Photoshop. The simpler and fastest is the method Michiel shared from this website: support.spiffcommerce.com...
It can also be done in Affinity Photo using Channel Mixer and changing the blending mode to Screen. Same results.
EdwardL, a year ago
EdwardL, good result! When applying such texture to a text layer you might want to set the TEXTURE MAPPING prop to 1 and play with the TEXTURE SIZE. Another trick to fix the sides is to switch to the ROUND BEVEL style and set the BEVEL prop to something like (2, 100, 0)
And yes, it would be nice when stock sites would offer their textures as ready to use ORM maps because, as support.spiffcommerce.com... says: "the format is quickly becoming the universal standard".

michiel, a year ago
Comment to this article
More by lightads

About lightads
Using 3D BluffTitler to give me the edge in my video editing :)
138 articles 112.5K views
Contact lightads by using the comment form on this page or at filmingphotoguy@afrihost.co.za


