Plasma layer
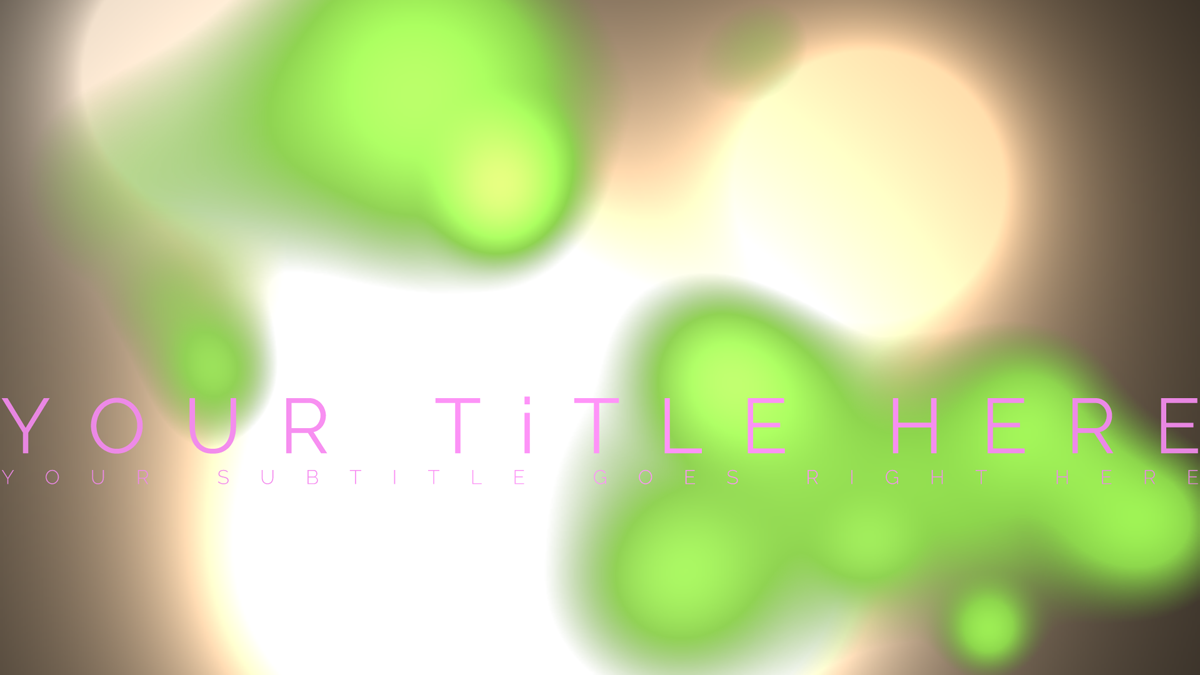
The background in the above screenshot is rendered with a few plasma layers. The template used is from BixPack 27.
What can I do with the plasma layer?
With the plasma layer you can create colourful animated backgrounds.
How do I add a plasma layer?
Choose LAYER > Add layer > Add plasma layer... to add a new plasma layer.
Choose LAYER > Attach layer > Attach plasma to active layer... to attach a new plasma layer to the active layer.
The new plasma layer can be selected from the layers dropdown to make it the active layer.
Examples
The installer comes with shows demonstrating the possibilities of the plasma layer. Choose FILE > Open show... and select a show from the BluffTitler/Media/Shows/Plasma folder.
To quickly switch between your own shows and the ones that came with the installer, click on the Personal and App buttons in the upper right corner of the file dialog.
Blobs
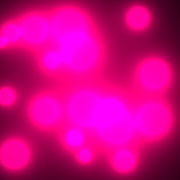
With the 1st layer style dropdown you can set the plasma style.
This example uses the Blobs style.
Density & Radiation
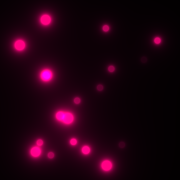
With the Density property you can set the amount of plasma elements.
The Radiation property controls the size of the elements.
Additive blending
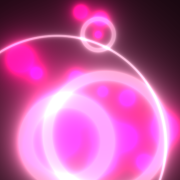
Plasma layers are rendered with additive blending. This means that plasma layers are mixed.
This example uses 2 plasma layers.
Filter effect
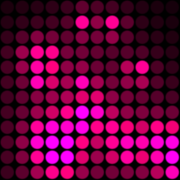
In this example, the Filters/Circles effect is applied to the plasma layer.
Plasma as colour map
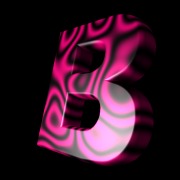
Click on the Attach plasma to active layer... button. The 1st texture is now replaced by the plasma layer.

Plasma as displacement map
There are 2 ways to use a plasma layer as a displacement map:
1) Attach a plasma layer to a picture layer that is using the Displacement map effect.
2) Render the plasma layer as a child of a colour map layer and use this colour map layer as the displacement map in a picture or landscape layer that is using a displacement map effect.
For the best quality, select the HDR displacement map style in the 2nd dropdown of the plasma layer. Make sure to use the HDR style in the colour map layer as well.
Looping plasma layer
You can make the plasma layer seamlessly looping by adapting the show duration to the plasma speed. For example when using a show duration of 10 seconds and a plasma speed of 0.1 it loops seamlessly. The formula is:
Show Duration * Plasma Speed = 1
Show Duration is the duration of the show in seconds that is set with the FILE > Set show duration... menu item. And Plasma Speed is the Speed property of the plasma layer. Make sure to unmark the Include last frame checkbox in the FILE > Export as video... dialog.
Plasma layer style 1

Solid
A single colour.

Vertical gradient
A vertical gradient from top (Colour 1 property) to bottom (Colour 2 property).
Double vertical gradient
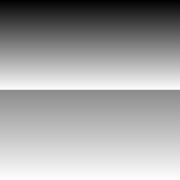
2 vertical gradients. From top (Colour 1 property) to centre (Colour 2 property) and from centre (Colour 3 property) to bottom (Colour 4 property).
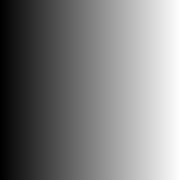
Horizontal gradient
A horizontal gradient. From left (Colour 1 property) to right (Colour 2 property).
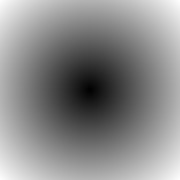
Radial gradient
A circular gradient from centre (Colour 1 property) to edge (Colour 2 property).
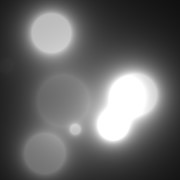
Blobs
Moving blobs (radiating circles).

Spots
Moving spots (radiating dots).
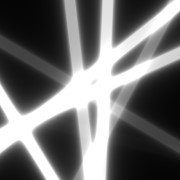
Lines
Moving lines.

Horizontal lines
Moving horizontal lines.

Vertical lines
Moving vertical lines.

Line segments
Moving line segments.
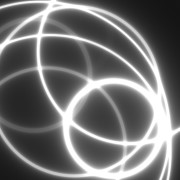
Circles
Moving circles.
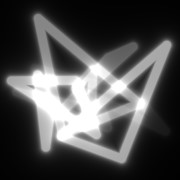
Triangles
Moving triangles.

Rectangles
Moving rectangles.

Tunnel
A moving tunnel.

Spiral
A rotating spiral.

Rays
Rotating rays.

Copper list
A tribute to the Amiga's graphics coprocessor (copper).

Fractal cloud
A fractal cloud.
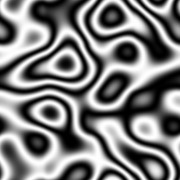
Perlin noise
Gradient noise using the Perlin algorithm.

White noise
White noise.
Plasma layer style 2
LDR
The plasma layer generates an LDR texture (24 bpp RGB).
HDR
The plasma layer generates an HDR texture (16 bpp R). This can be necessary to prevent the terracing effect when the plasma layer is used as a displacement map.
Plasma layer properties
Position
The position of the plasma layer
Colour 1
This sets the 1st colour.
1st slider: red
2nd slider: green
3rd slider: blue
When you press <F3> and the mouse is inside the tool window, the standard Windows colour dialog is presented. When the mouse is outside the tool window, the colour of the current mouse position is copied: it's a colour picker!
Colour 2
This sets the 2nd colour.
1st slider: red
2nd slider: green
3rd slider: blue
When you press <F3> and the mouse is inside the tool window, the standard Windows colour dialog is presented. When the mouse is outside the tool window, the colour of the current mouse position is copied: it's a colour picker!
Colour 3
This sets the 3rd colour.
1st slider: red
2nd slider: green
3rd slider: blue
When you press <F3> and the mouse is inside the tool window, the standard Windows colour dialog is presented. When the mouse is outside the tool window, the colour of the current mouse position is copied: it's a colour picker!
Colour 4
This sets the 4th colour.
1st slider: red
2nd slider: green
3rd slider: blue
When you press <F3> and the mouse is inside the tool window, the standard Windows colour dialog is presented. When the mouse is outside the tool window, the colour of the current mouse position is copied: it's a colour picker!
Gradient power
This controls the shape of the colour gradients
Density
The number of plasma elements.
Max displacement
This sets the area in which the plasma elements move. A value of 1 makes them use the whole screen. 0 makes them stand still.
Speed
The speed of the plasma elements.
Start time
This sets the simulation time in seconds at the start of the show. This can be used to immediately jump to a nice effect without having to create a long show.
Radiation
The radiation of the plasma elements. The 1st slider controls the minimum and the 2nd the maximum radiation.
Wave length
The wave length of the radiation.
Border size
The size of the border.
Random seed
The plasma elements are positioned randomly. This property changes the random positions.