 BillyJack | 13 years ago | 16 comments | 3 likes | 16.5K views
LostBoyz, Bragina and IBMedia like this!
Here's a completed puzzle for whoever wants to play with it.
Download media files (434.8 KB)


Can you add a short explanation of how you created the individual pieces?
I looked in the textures folder and saw all the individual pieces A1.png to E7.png. How did you make them?
IBMedia, 13 years ago
The answers number one and two, have the answer to your question
in the link
maitegras, 13 years ago

Sorry IBMedia,
just watch this show, and now I understand, to which it refers.
I thought it was the EPS files.
I imagine that this work of PNG, is made in photoshop.
even if I wanted to work with this show, would have much work to create the new image, without the photoshop PSD
On the other hand think it is more efficient, move and enlarge the images within the option (move texture) + (position of texture)
maitegras, 13 years ago
I've read that article a couple of times, and have obtained the BMP2EPS program.
But, nothing in that article really explains the process of creating a set of complex shaped EPS files like the jigsaw puzzles in this show.
Is there a video tutorial anywhere that shows how to do it step-by-step?
I'm sure many people would get a tremendous benefit from being able to watch a tutorial like that.
BluffTitler is a fantastic program. I really love it - but reverse engineering many of the fantastic shows on here to be able to do more than just replace the textures is often very difficult.
A case in point - LostBoyz did a video tutorial showing how to create Video Panels. Even though the language was not english, it was possible to follow "the process" and understand more of the complexities and POWER of Bluff Titler.
I've already learned a lot from the many very helpful people here, but video tutorials instead of just plain shows would reduce the very steep learning curve very dramatically.
Anyway, sorry for long message ... and the rant ... thanks for everyone on here who helps others in the learning process and to BillyJack for creating the show and to maitegras for additional helpful hints.
IBMedia, 13 years ago
maitegras - thanks again for another helpful pointer.
You must have been posting at the same time as me. I'll look at that other link too.
IBMedia, 13 years ago
to create the pieces, you can do with photoshop.
maitegras, 13 years ago
Great tutorial. Thanks for adding it.
IBMedia, 13 years ago
Hi @ all,
the video-tutorial is very great.
But the easier way is with an photoshop action. With one mouse click you can create an puzzle.

Ulli, 13 years ago
Do you have a Photoshop Action for that?
IBMedia, 13 years ago
I just used the free version to create a 20 piece jigsaw, and all the pieces were automatically placed on their own individual layer - so you could instantly export them as individual PNGs.
Very Cool.
IBMedia, 13 years ago

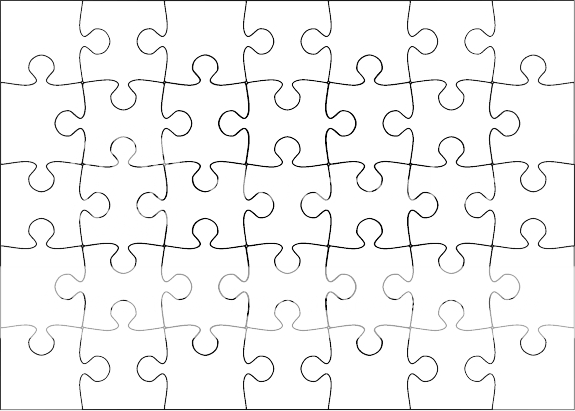
When I built this I wanted a puzzle I could scramble the pieces, but still have them all fit together out of order. I made the core piece to where it would evenly interlock with itself and then made the edges and corners from that. Once I made the EPS files, I loaded them to BT and set them to "wireframe" with a text size depth of "0" which basically give me a white 2D trace map of each piece. Saved that image to a PNG file then opened and overlay-ed it with the base image in PhotoShop. Selected each piece one at a time from the tracemap with the magic wand marquee tool (refer to maitegras video tutorial) then copied and pasted that selection from the base image to a new file, naming it to the corresponding puzzle piece. For the show I loaded, I've attached a link to the tracemap I created for it if you're happy with that build, or using the steps, you could create your own.

BillyJack, 13 years ago
Excellent info - thanks.
How did you work out the co-ordinates for the positioning of the pieces? Was that just manual positioning of the layers containg the PNGs?
IBMedia, 13 years ago
Yes it was manual, that's why I have the pngs mapped and tagged by location IDs. Originally I only used 4 pieces to create the puzzle, but it was a pain to set the images to match the rotated EPS files. I ended up making 4 corners, 2 edges per side and 2 cores so they could be placed without rotation. Then it was just a matter of adding each texture and sizing/positioning it to fit.

BillyJack, 13 years ago
Comment to this article
More by BillyJack

About BillyJack
74 articles 275.4K views
Contact BillyJack by using the comment form on this page or at facebook.com/airedalenation


