camarita | 4 years ago | 4 comments | 743 views
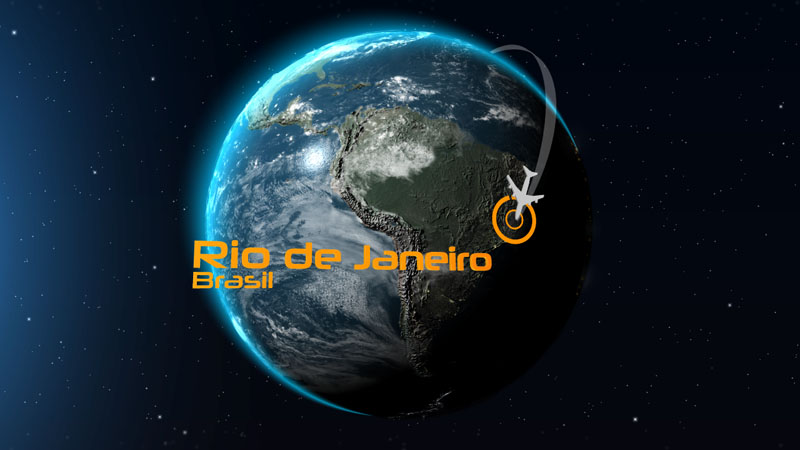
Hello everyone; and hope you will enjoy a great 2021!!! In one of the presets there is a picture of the Earth and a plane that departs from Holland and arrives at Brasil. My question is: if it will be possible to have a different departure and arrival point. And if that is possible, how is it made. I have BluffTitle Pro edition.
Thanks in advance for your advice!!!
Download media files (16.2 KB)


Thanks Michiel for your advice, I could figure out a few corrections; but I tried a lot of times to do the Flight Path from Edmonton, Canada to Montevideo, Uruguay; and when I have some positions OK, I loose other ones. I can set the city names in the proper locations, etc. but the flight starts on the back of the Planet. So I finally correct that, then the flight path and the names of the cities move to the wrong places; I also loose the circle at the end of the trip, and the plane itself. I don't know what I'm doing wrong. Why is that when I correct one thing, another thing gets affected? I know that I'm not a professional, but I have a lot of years of experience on video effects and editing, and this is making me feel very frustrated. Perhaps there is a certain order in the steps to do the changes so it does not affect previous settings? Thanks again for your patience.
camarita, 4 years ago


I assume you are using template 10_Earth10.bt from BixPack20:
outerspace-software.com...
There are a lot of elements in this template. There's no magic way to adjust them all at once. It's not a standard template where changing the texts is enough. Also please understand that 3D animation is something else than video editing.
First look up the coordinates of the cities on Wikipedia:
Edmonton, Canada: 113 West, 53 North
Montevideo, Uruguay: 55 West, 34 South
Here are the elements that need to be adjusted:
1) Flightpath, line
Layer 17
Set the FX FLIGHT DEPARTURE prop of both keys to: (-113, 53)
Set the FX FLIGHT ARRIVAL prop of both keys to: (-55, -34)
2) Flightpath, plane
Layer 10
Set the FX FLIGHT DEPARTURE prop of both keys to: (-113, 53)
Set the FX FLIGHT ARRIVAL prop of both keys to: (-55, -34)
3) Camera
Layer 1
Set the ROTATION prop of the first key to (30, 60, -20)
Set the ROTATION prop of the other keys to (20, -33, -50)
4) Sun
Layer 2
Set the POSITION prop to (-600, 200, -1100)
5) Text departure city
Layer 21
Set the POSITION prop of all keys to: (-29, 167, -86)
Set the ROTATION prop of all keys to: (29, 54, -21)
Layer 22
Set the text to "Edmonton"
Layer 23
Set the text to "Canada"
6) Text arrival city
Layer 24
Set the POSITION prop of all keys to: (-30, 100, -122)
Set the ROTATION prop of all keys to: (20, -32, -49)
Layer 25
Set the text to "Montevideo"
Layer 26
Set the text to "Uruguay"
7) Circle departure city
Layer 18
Set the POSITION prop of both keys to (-107, 140, 48)
Set the ROTATION prop of both keys to (-51,-37,-17)
8) Circle arrival city
Layer 19 and layer 20
Set the POSITION prop of both keys to (-100,-72,-63)
Set the ROTATION prop of both keys to (67, -23, 0)
Yes, that's a lot of work, but realize that this allows you to change all aspects exactly the way you want. Not only the things I adjusted, but also the colours, fonts, textures,...
I have attached the result to this article. Click on the blue DOWNLOAD MEDIA FILES button at the top of this page to download it. Place the files next to the other BixPack 20 templates.
I hope this can get you started, good luck with your project!

michiel, 4 years ago
Michiel, I thank You very much for your help; it was great. I never thought it would take so much work, but it came out very nice . Thanks again
Carlos
camarita, 4 years ago
